
How to sharpen your knife on a whetstone
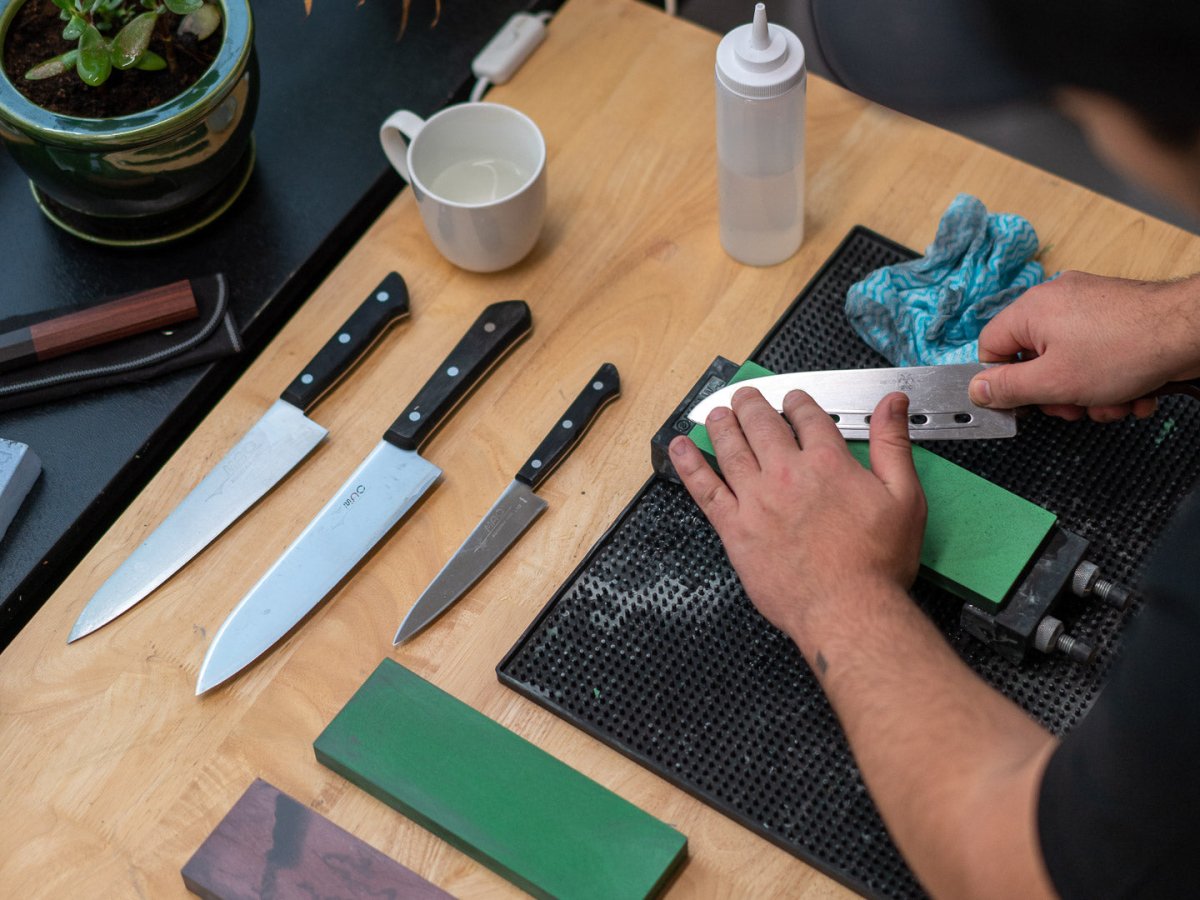
To sharpen your knife on a whetstone, you need a stone of around #1000, water and an angle you can hold: around 15 degrees on Japanese knives and 20 on European ones. You sharpen one side until a thin lip, a burr, rises on the other. Then you turn the knife over and do the same.
The principle
The edge is where two sharpened faces meet. When the knife goes dull, the line where they meet has been rounded off, and the cross-section has gone from a V to a U. Sharpening removes steel from both sides until the faces meet in a sharp line again.
You know the faces have met when the burr appears. It is a hair-thin lip of steel that bends over to the side you are not sharpening. You feel it better than you see it. Until the burr is there along the whole edge, you are not finished with that side.
The equipment

| What | Grit | When you need it |
|---|---|---|
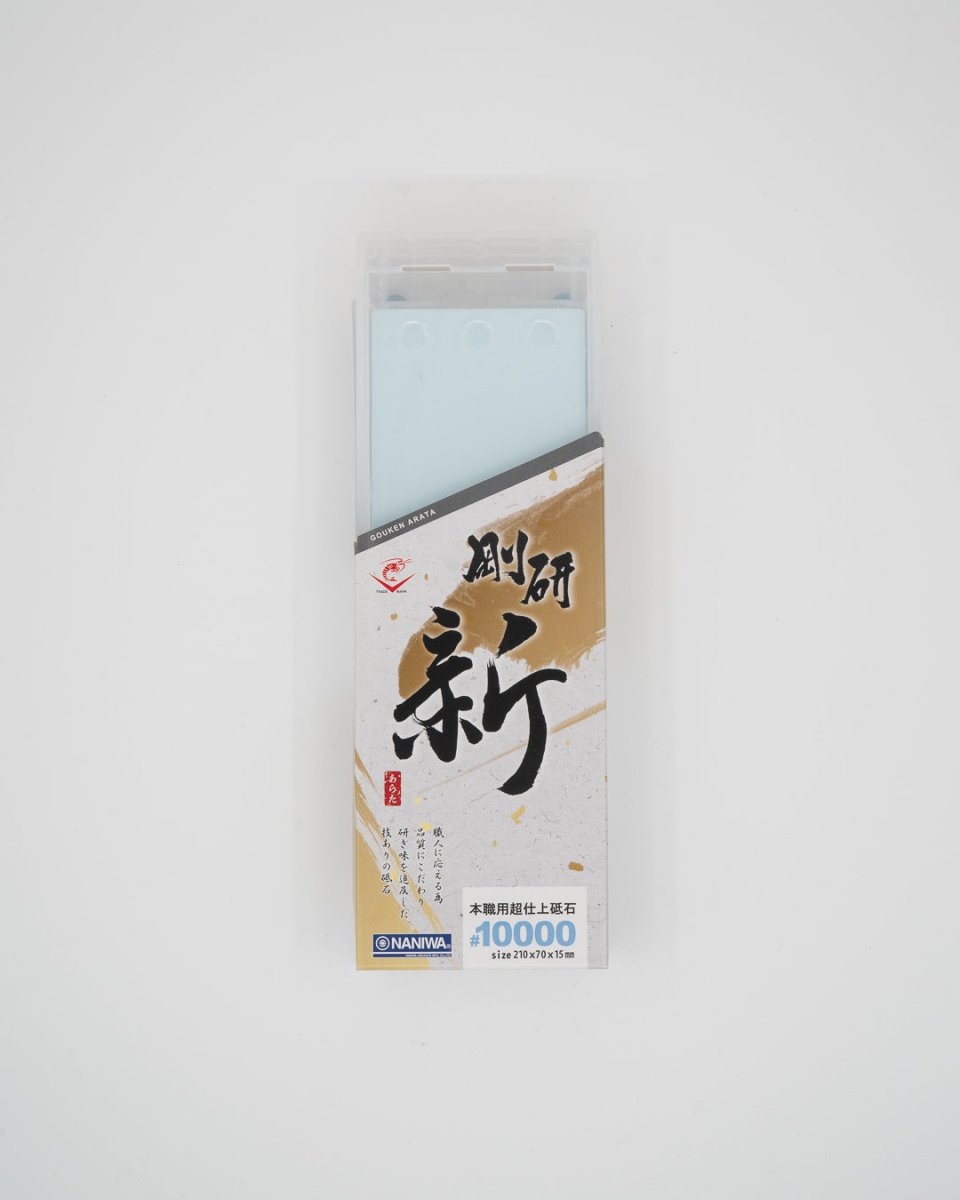
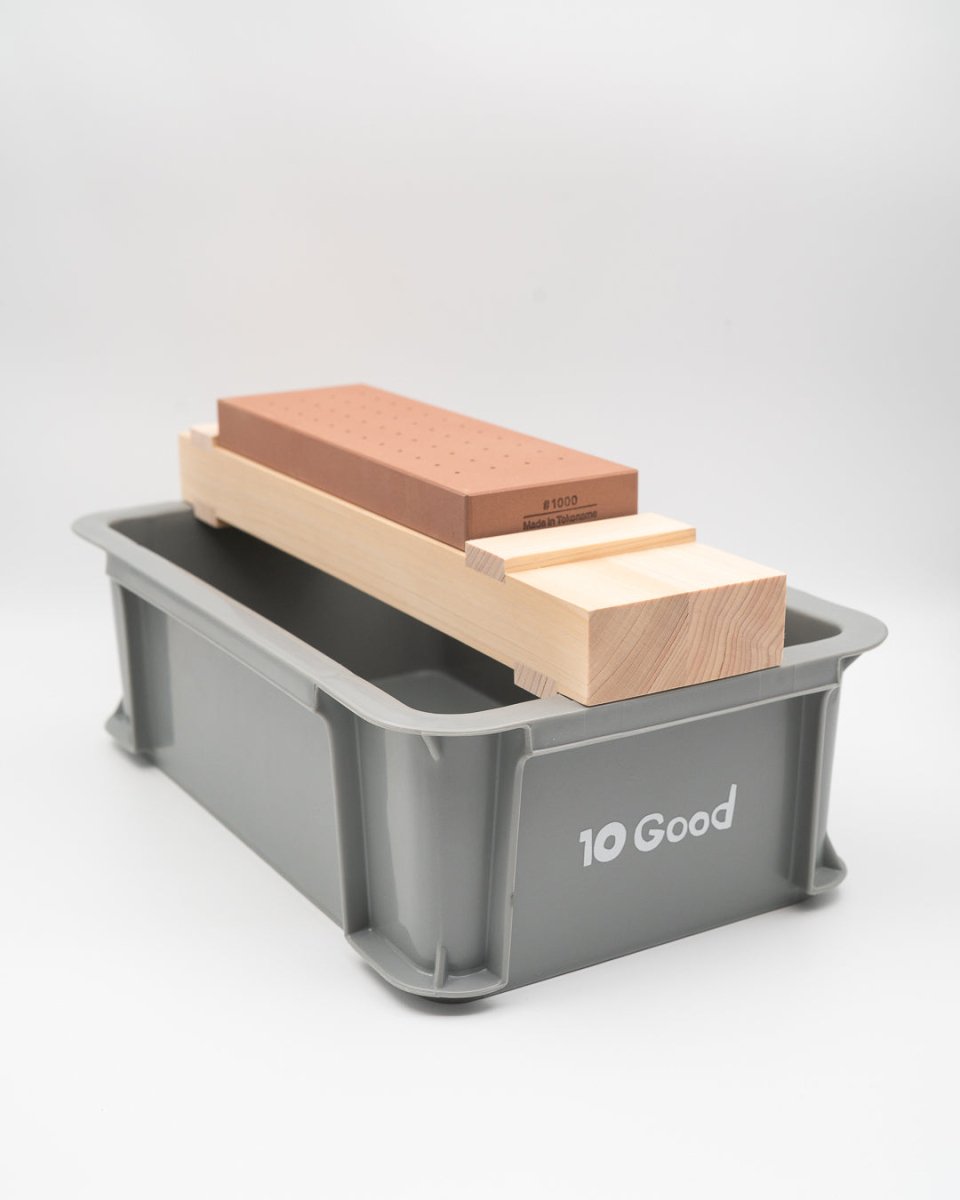
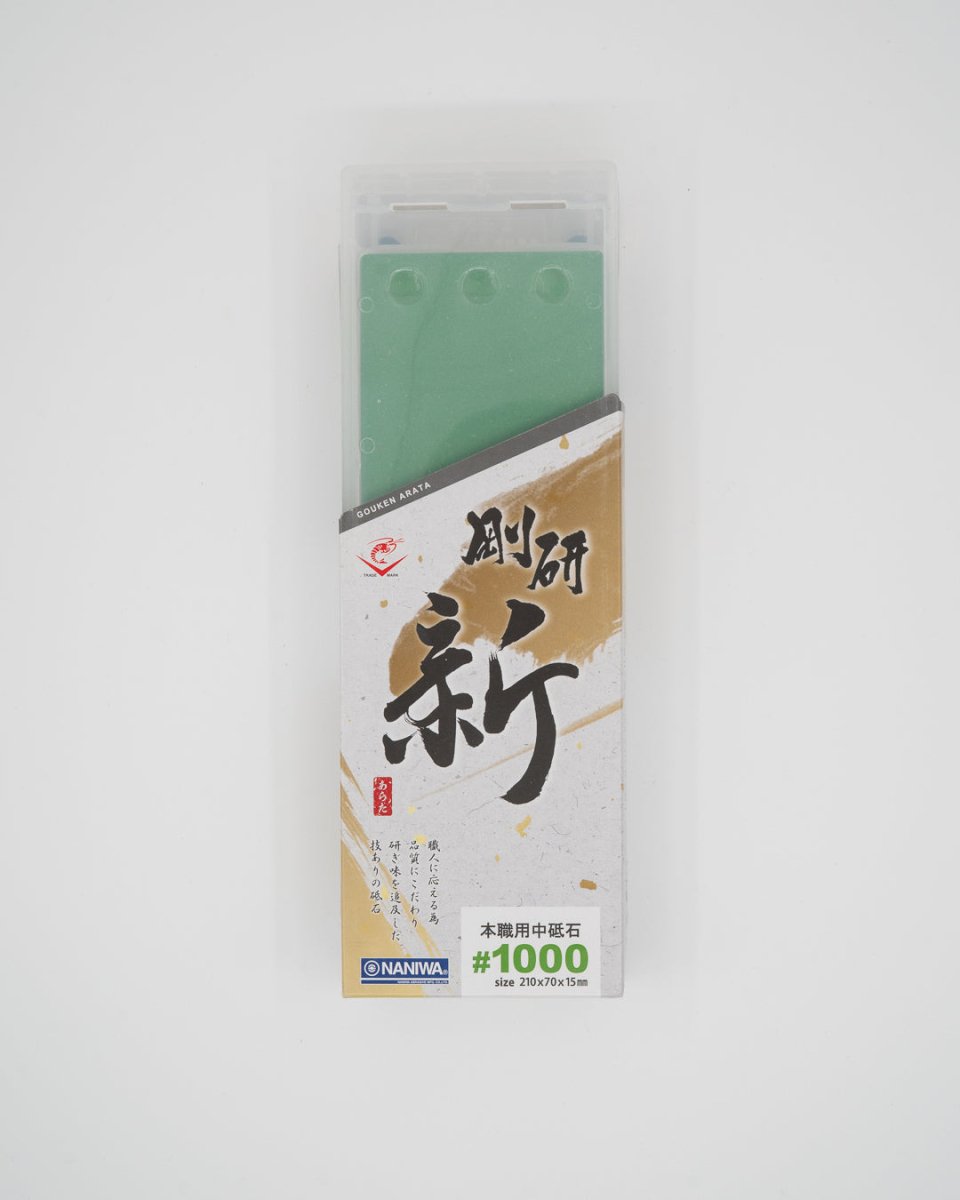
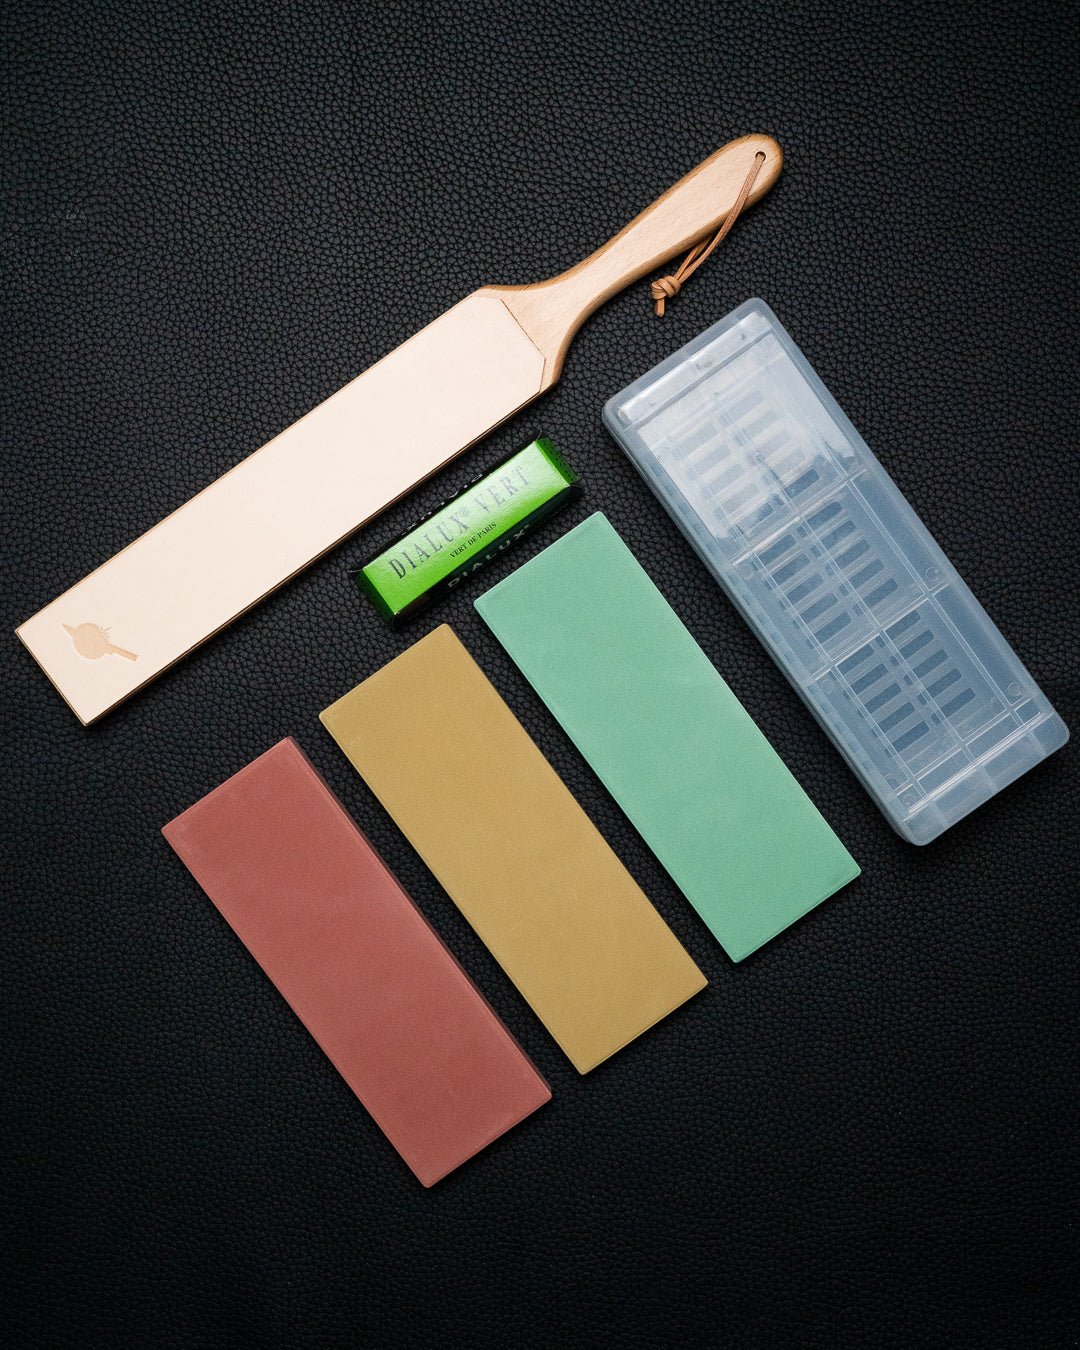
| Medium stone | #1000 | Every sharpening. The only one you must have. |
| Coarse stone | #220 to #400 | A dull knife that has been left for a long time, or chips in the edge |
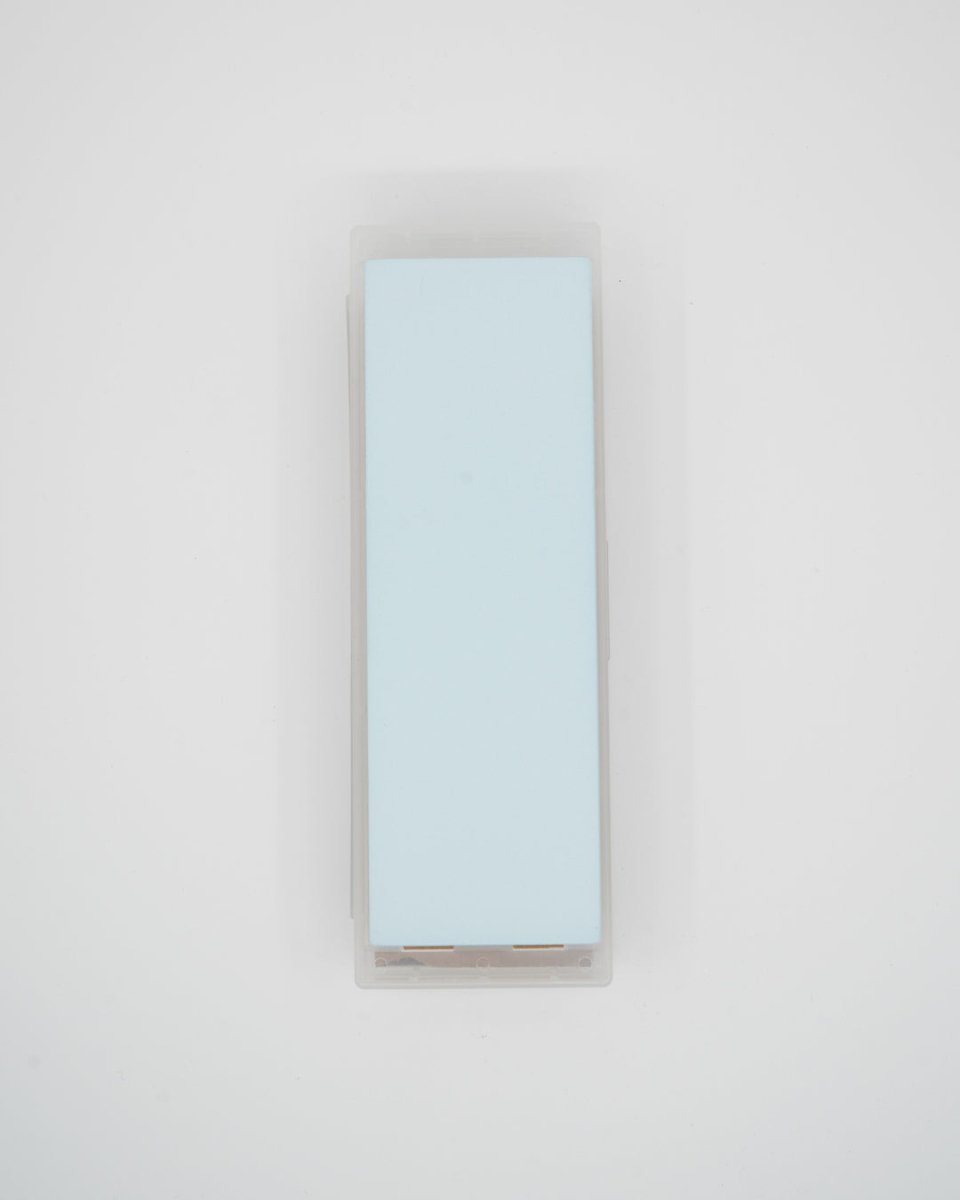
| Finishing stone | #3000 to #6000 | After #1000, for a cleaner cut |
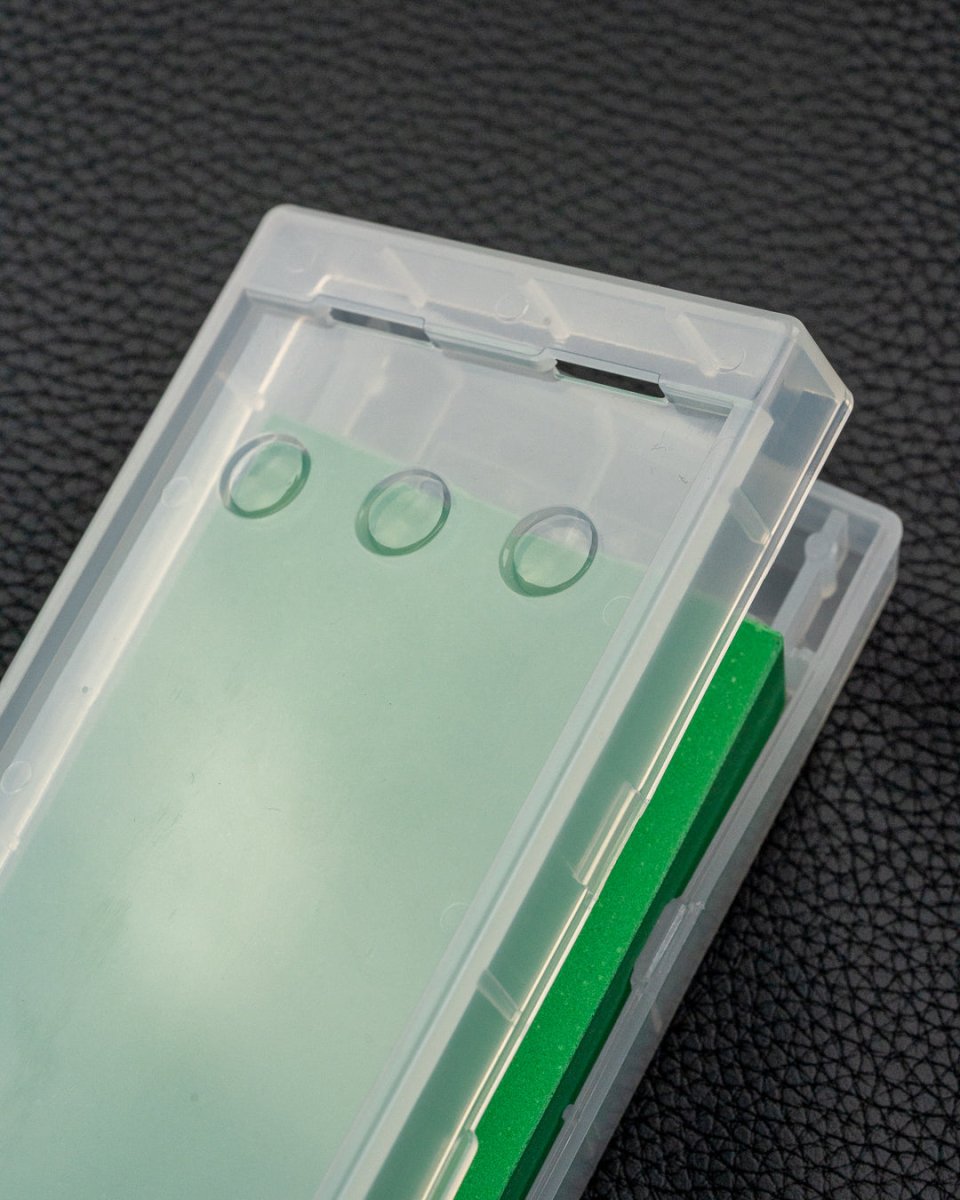
| Stone holder | The stone must sit steady. A damp towel underneath works too. | |
| Flattening stone | For example Atoma #140 | Flattens the stone when it dishes in the middle |
If you only have one stone, make it #1000. Which grits you will need later is in whetstones: grit, how many and natural stones, and the stones are under whetstones.
Water on the stone
Some stones need soaking in water before use, usually 10 to 20 minutes, until they stop bubbling. Others only need a splash of water on the surface. The stone or the box tells you which type you have.
Keep the stone wet the whole time. The grey slurry that builds up on it sharpens along with the stone, so leave it on the coarse stone and the #1000. If it starts to scratch, the stone is too dry, and you add more water.
The angle
Japanese knives are sharpened at around 15 degrees per side, European ones at around 20. Hold the same angle on every stroke, which matters more than the number. A steady angle slightly above 15 gives a better edge than one that wanders around 15.
The Anatomy of a Japanese Knife gives around 14 degrees for Japanese knives, and the book uses the same marker test we show here.
For 15 degrees, you lift the spine roughly a quarter of the blade height above the stone. On a chef's knife with a 45 mm blade height, that is about 12 mm, a little under a finger's width. Check with a marker: colour the edge with a permanent marker, do a few strokes and see where the colour has gone. If it has gone all the way out to the edge, the angle is right. If colour is left at the very edge, the angle is too low. If only the outermost millimetre is bright, it is too high.
On the knife sharpening course we see that the angle wanders most at the tip. The blade curves up there, and the hand drops without you noticing.
The strokes
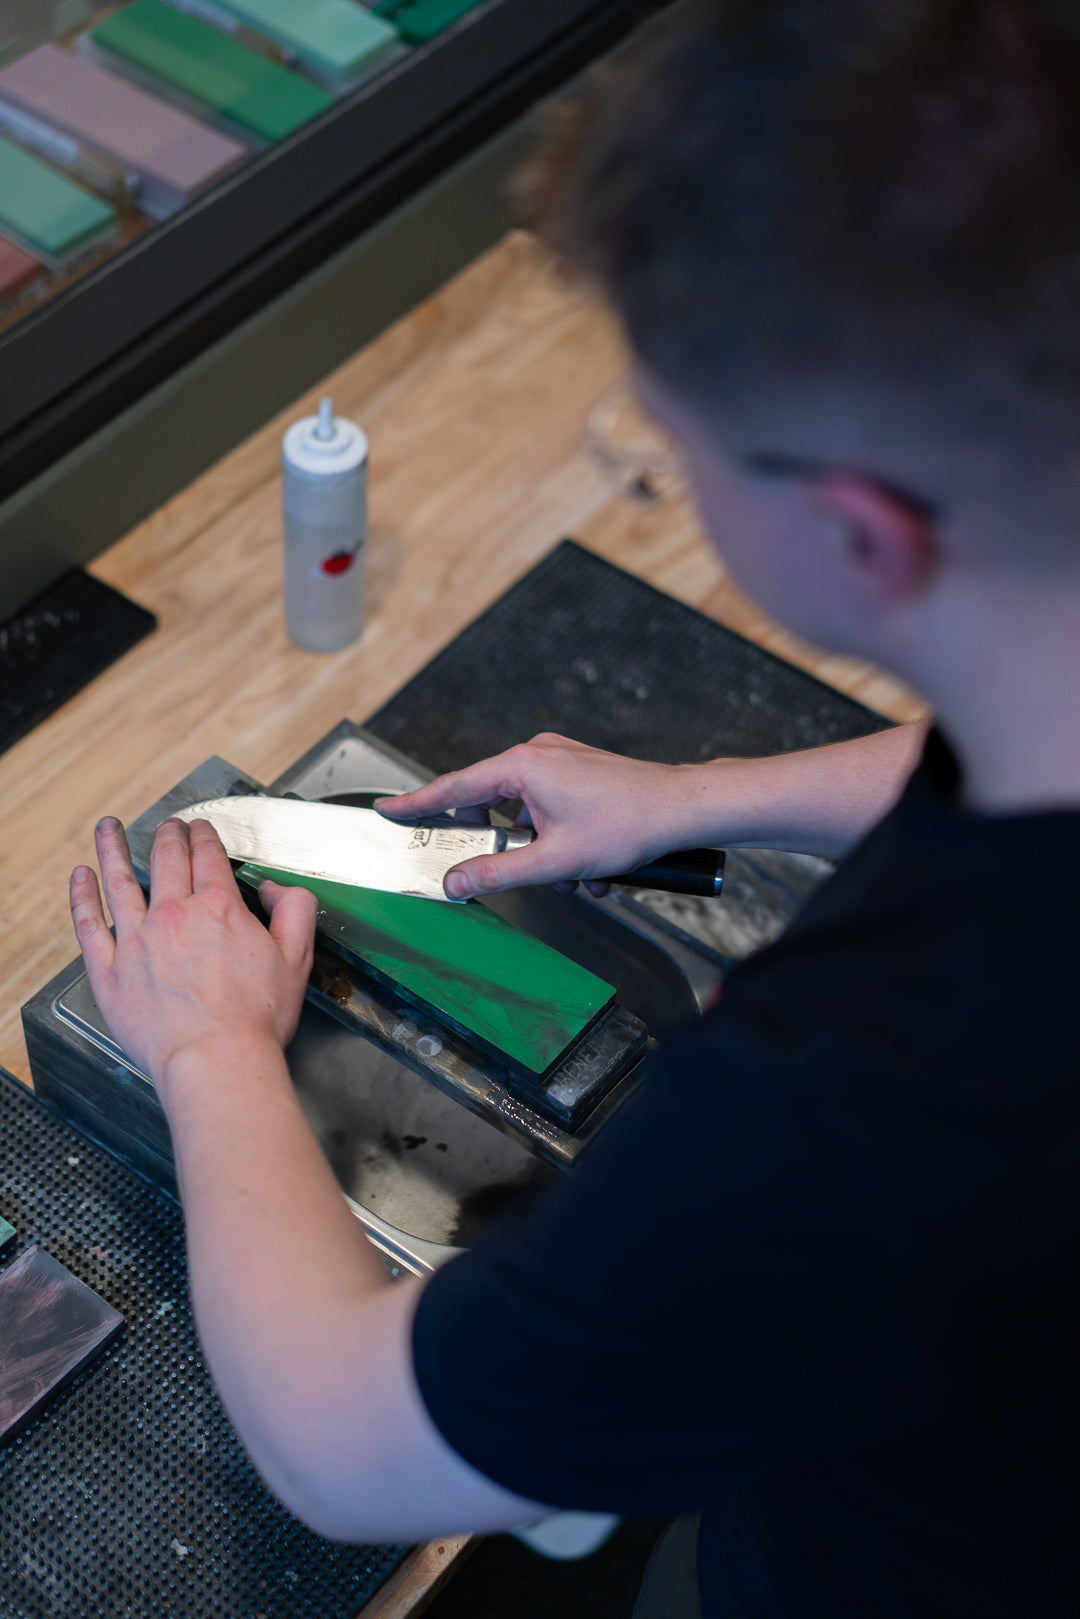
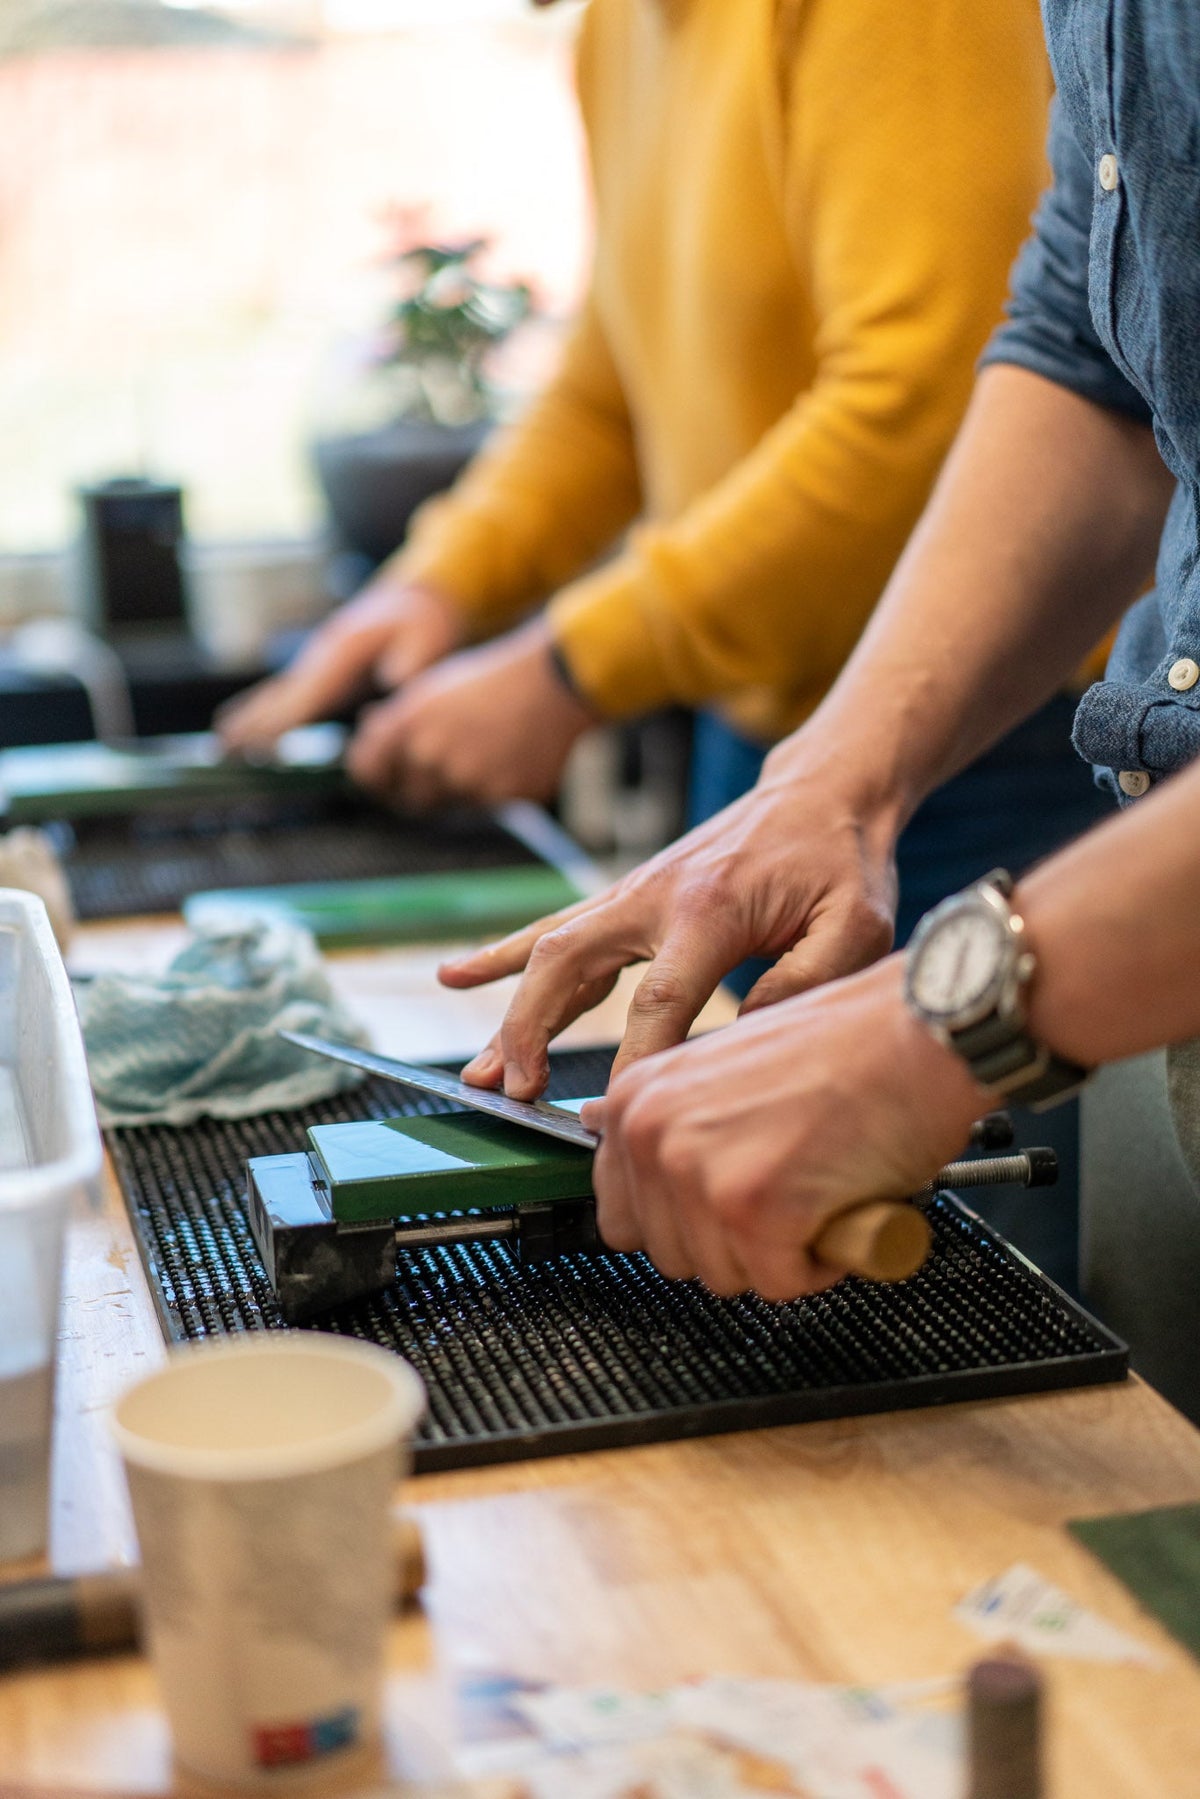
Lay the stone with the long side pointing away from you. Hold the handle with one hand and put two or three fingers of the other on the blade, just above the edge. The fingers give the pressure, the hand on the handle holds the angle.

Divide the edge into three: the heel, the middle and the tip. Sharpen one section at a time with short strokes back and forth. With the edge facing away from you, press hardest on the way out, when the edge leads, and hardly at all on the way back.
Count the strokes. Do, for example, ten per section on the first side, and the same number on the second. That way both sides get the same, and the edge ends up in the middle of the blade.
The burr
Feel with your thumb across the edge, from the blade out over the edge, on the side you are not sharpening. Never along the edge. The burr feels like a rough lip that catches your thumb. When you find it from heel to tip, turn the knife over.
On the second side, put the pressure on the stroke where the edge leads. This side goes faster. Sharpen until the burr has moved over, again along the whole length.
The finishing stone
Move to #3000 or finer and repeat both sides with lighter pressure and fewer strokes. The burr gets smaller with each round. Finally, do a few light strokes on each side with the edge trailing, so the burr lets go.
From around #4000 you can hardly feel the burr any more. Listen instead: the sound goes from crackling to silence when the stone has done its work.
Strop and test
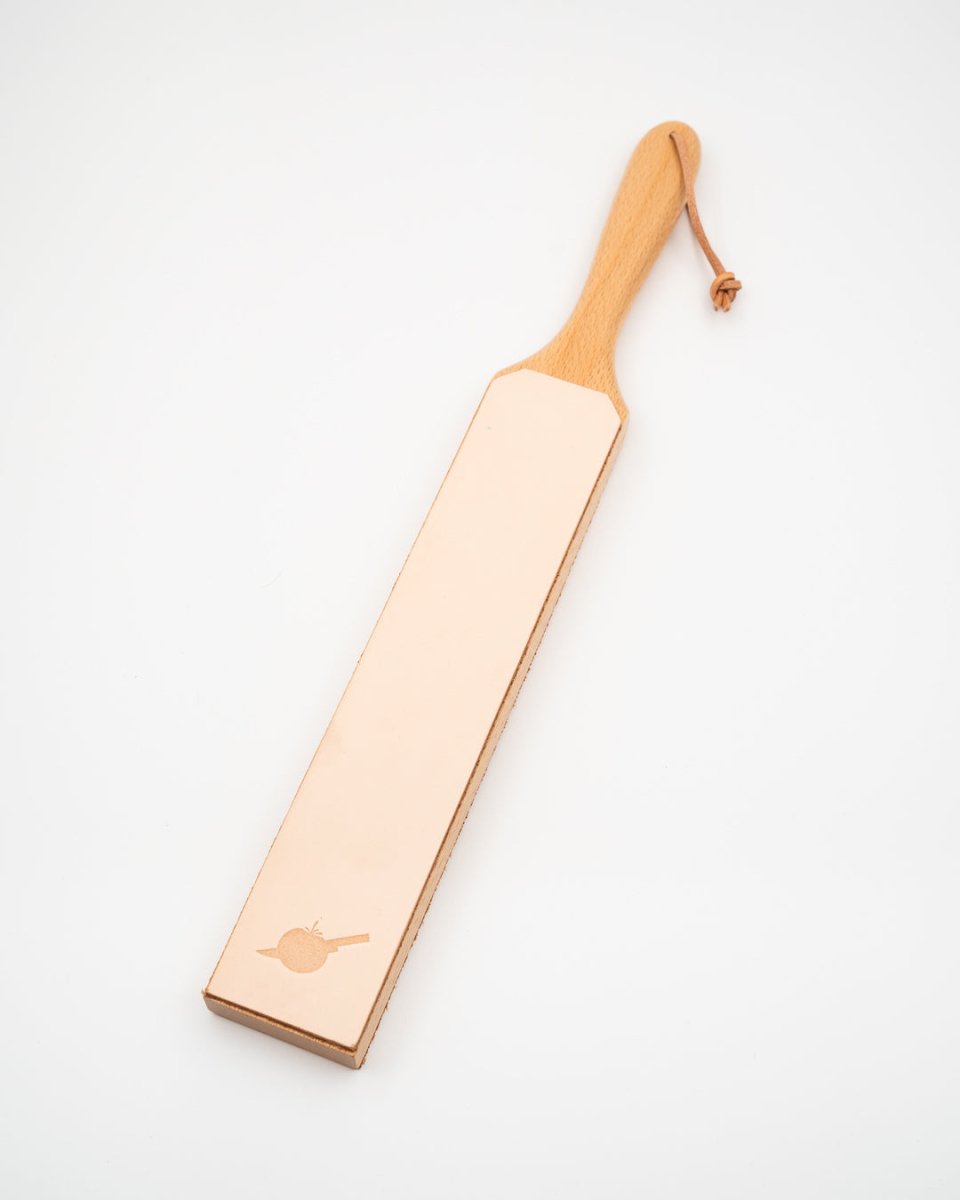
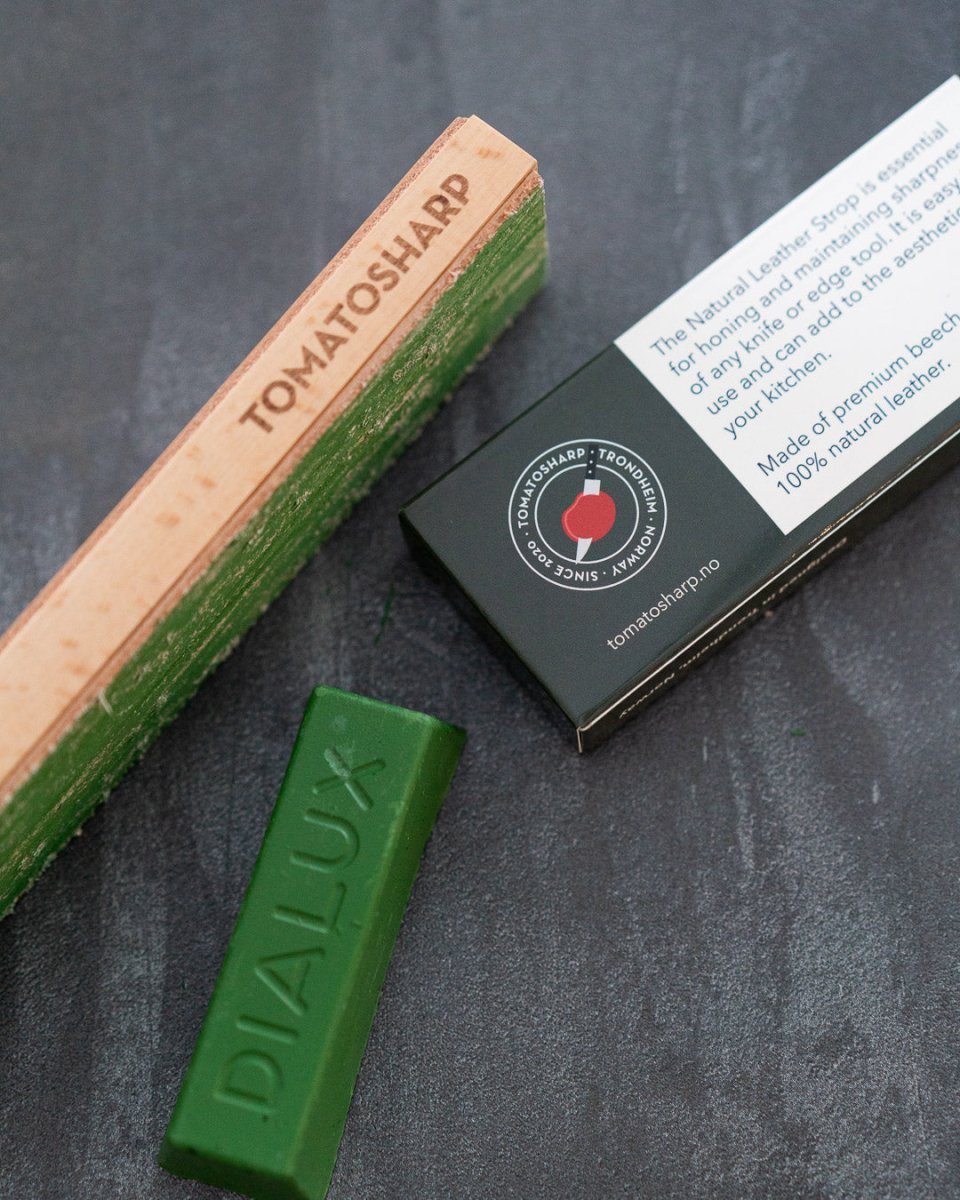
Draw the knife over a leather strop spine first, alternating sides, around twenty strokes. That takes off the last of the burr. If you have no strop, draw the edge through a sheet of newspaper.
Then test with paper or a tomato. If the knife snags somewhere, the edge is uneven right there, and that section needs a few more strokes on both sides. The tests are in sharp knife: three tests. The whole routine with the KING 10Good set, with video from the bench at Teknostallen, is under how to sharpen yourself.
Common mistakes
- The angle wanders, most often at the tip and when your arm gets tired.
- Too little water. A dry stone glazes over and stops cutting.
- An uneven stone. A dished stone gives a curved edge and makes it impossible to hold the angle. Flatten it with the flattening stone, ideally after every sharpening.
- Moving to a finer stone before the burr is there along the whole edge.
- Sharpening too rarely. A knife that has been dull for years needs the coarse stone and a lot more time.
When someone has tried themselves before the knife comes to us, it is most often the tip that has not been finished. The burr runs along the rest of the edge but stops a couple of centimetres before the tip.
How often
With normal home use, sharpening once or twice a year is enough. If you use the knife every day, it needs it more often. Between sharpenings, a leather strop or a ceramic honing rod straightens the edge in a few minutes.
What you do not sharpen yourself
Single-bevel knives such as the yanagiba, deba and usuba have a hollow back that has to be kept flat. Chips and a broken tip mean the edge has to be ground back and given a new profile. After many sharpenings the blade gets thick behind the edge and needs thinning. The bread knife has serrations that are sharpened one by one. We handle knives like these in the workshop.
Sharpening in the workshop
If you have no time or no stone, send the knife to us. Sharpening by post costs from NOK 149 per knife, and you get it back 3–5 working days after we receive it. Return and the sharpening box are covered in what does knife sharpening cost.
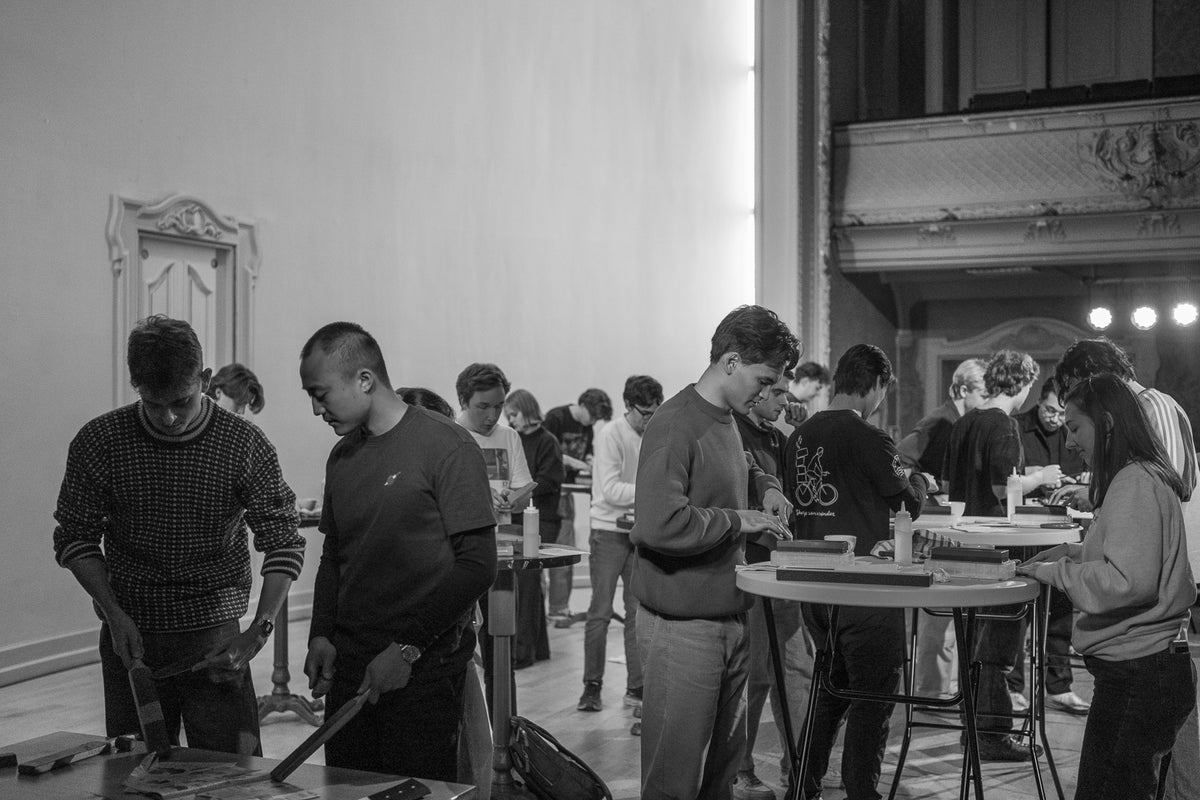
If you would rather learn it with your hands, take a knife sharpening course. You sharpen on the same Japanese whetstones we use in the workshop every day, and go home with a knife you have sharpened yourself. The dates are on the courses page.
Questions and answers
Which grit should I buy first?
#1000. It sets the edge on a knife that is dull from normal use, and every knife goes through it at each sharpening. The next stone is a finishing stone around #3000. A combination stone with #1000 on one side and #3000 on the other covers both.
Can I use a honing steel on a Japanese knife?
Not a steel rod. Metal against a hard, thin edge can cause small chips and an edge that dips in the middle. A ceramic rod with a few light strokes works fine, and so does a leather strop.
How long does it take to sharpen a knife?
The first time takes longer, because you are searching for the angle and the burr. Allow around 20 minutes on #1000 and 10 on #3000 for a chef's knife. A knife that is sharpened regularly and is not completely dull goes faster.
Do I need an angle guide?
No, but it helps the first few times. A guide that clips onto the spine holds the angle for you. The marker trick shows whether the angle is right, with or without a guide.
Should I use oil or water?
Water on Japanese water stones. Oil clogs the stone so it stops cutting, and it becomes hard to clean. Oil stones are a separate type, and the two should not be mixed.